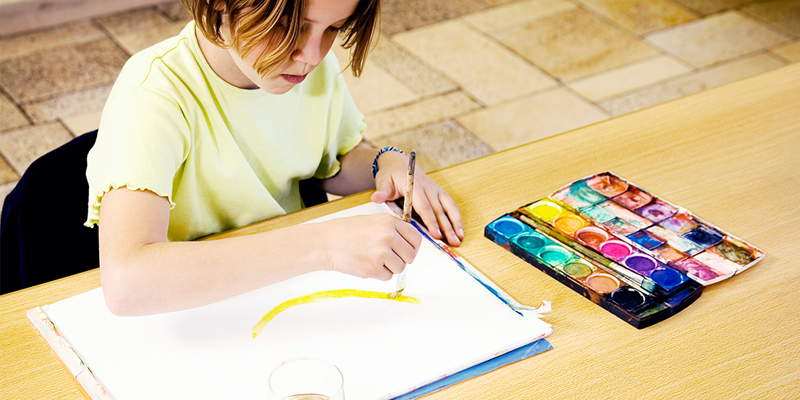
Drawing is a wonderful art form in itself, but it is also an excellent exercise for other forms of art, like painting for instance. Learning how to draw will truly open your mind to your surroundings enabling you to really see what is before you.
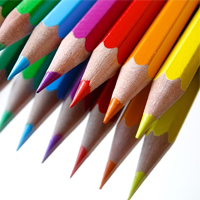
Choosing your drawing supplies there are a variety of different drawing tools available for today’s artists and what you choose to work with is based on your own preference. It comes to down to experimentation. You have to work with a number of different things before you find the tools that fit your style of drawing.
Don’t go out and spend a ton of money on your drawing supplies in the beginning. You can really get started with a beginner pencil set and some newsprint paper. When you become more experienced, you can then venture out and spend money on better supplies.
Graphite pencils – Graphite pencils range in hardness and are labeled from 9H to 9B. The H pencils are the hardest. The higher the number in front of the H the lighter the mark. The B pencils are softest. The higher the number in front of the B the darker the mark. The H pencils are generally used for detailed lines where the B pencils will produce rich dark lines great for bold expressive drawings.
Charcoal Pencils – Charcoal pencils also come in a range of hardness and are labeled either from H to B like graphite, or simply as “soft”, “medium” or “hard”. They have a noticeably different feel to them and produce a rich dark line. Charcoal pencils tend to wear pretty fast because of their softness.
Blending Tortillions – Tightly wound stumps of paper with a point used to blend in your drawings.
Erasers – You may want to have a few different types of erasers on hand to fit every occasion.
Kneaded Eraser – A soft pliable eraser that can be kneaded into any shape to pick up and remove pencil and charcoal. May not be the best for erasing smaller details. The SANFORD Kneaded Rubber Erasers are very popular.
Eraser Pencil – These are wonderful for getting into small areas of your drawings. They can also be sharpened like ordinary pencils.
Fixatives – Fixatives protect your drawings from being smudged or ruined. There are two types of fixatives: permanent and workable. Permanent fixatives are used on a finished drawing to protect, where a workable fixative is used during the drawing process as you are working. Use great care while working with fixatives by only using in a well ventilated area. When spraying the fixative, make sure you do not spray any one section for too long and only spray a light mist standing about 3 feet away from the drawing. You should probably experiment on a few practice drawings first to determine if a fixative is right for you. There appears to be a difference of opinion amongst artists when it comes to fixatives. Some artists love to work with them and swear by them, while others feel they may actually alter the quality of a drawing. Again, you have to experiment yourself to see if fixatives are a good choice for you.
Paper – In the beginning, for the purpose of practice, you may want to consider purchasing some inexpensive newsprint paper. You should be able to get this at any local art store or online. When you are ready to purchase a more expensive grade paper, choose something that will work best with the medium you use. Paper comes in a variety of different textures from smooth to rough, often referred to as its “tooth”. A really smooth paper may not work well for some mediums as the surface lacks texture, and will not grab certain drawing mediums very well. If the paper is too rough, the medium may simply slide across the surface. You have to experiment with different papers to find the one you are most comfortable with. Strathmore Brand makes excellent paper that is very popular amongst artists.
Horse Hair Drafting Brush – You should be able to purchase a horse hair drafting brush at any local art supply store or online store. This is a really helpful tool for brushing away unwanted eraser scraps from your drawing.
Basic Drawing Techniques:
There are two basic ways to approach a drawing: linear and tonal. The linear approach to a drawing focuses on line and outlines of shapes. In tonal drawing, you make use of gradations to indicate the various planes of your subject.
You should try to avoid smudging and blending in the beginning so that you force yourself to use your pencil more to achieve value in your drawings.
Avoid looking at your drawing too often. Make sure you are constantly focusing on the subject and only glancing at your drawing. By doing so, you won’t constantly judge your drawing, or think something is
wrong or out of place. Focus on the subject and draw what you see.
Never throw out any of your drawings. Keep a neat portfolio of everything you draw. This is an excellent way to see your progress over time.
Holding the pencil – Hold your pencil in a way that is most comfortable for you. Some hold the pencil just as you would hold a pen or pencil if you were writing. Others hold a pencil with the pencil between the thumb and index finger, with the rest of the pencil resting under the palm of your hand. Whichever method you use for holding your pencil, make certain that you do not hold the pencil too tightly.
Contour Drawing – This very basic technique is simply drawing the outline of your subject without any shading to indicate form.
Blind Contour Drawing – Similar to contour drawing, only you do not look at the paper. The point of this exercise is to force you to better observe what it is you are drawing. You should have no concern over the outcome of your drawing so it is important not to peek.
Hatching – This drawing technique uses a series of parallel lines drawn close together, in the same direction, which gives the appearance of value.
Crosshatching – Similar to hatching only you draw multiple layers of hatch lines at different angles that overlap one another.
Tonal or Value Drawing – In this approach to drawing we are indicating the various changes of light and shade in our picture without the use of strong edges and lines.
Upside Down Drawing – Drawing upside down is a wonderful exercise to awaken the right side of your brain. When you turn an image upside down, you are making it somewhat abstract and unrecognizable. This forces you to draw what you see as opposed to relying on your memory to draw something.
Negative Drawing Technique – This technique teaches you how to properly see the “white” or “negative” space in your picture. This is the area that surrounds your subject or “positive” space. Instead of drawing out the positive part of the drawing with line, you draw in the shapes that surround the positive part of your drawing.
Dry Wash Technique – This technique works quite well if you want to cover large areas of your drawing. It creates a nice soft tone. You begin by adding marks with a pencil or apply some graphite powder to the desired area on your paper. Then using a tissue or soft cloth pick up some of the graphite and gently rub it across the paper, almost as if you were painting.